Good Luck Soup 🍀

SHAMROCKS 🍀, leprechauns and green hats, shirts and green beer. On March 17th. the Irish and as it seems the rest of English speaking world celebrate St. Patrick’s life with green beer, bacon and cabbage. St Patrick (c. 385 – c. 461), the foremost patron saint of Ireland.

March is the month of good luck and good wishes.

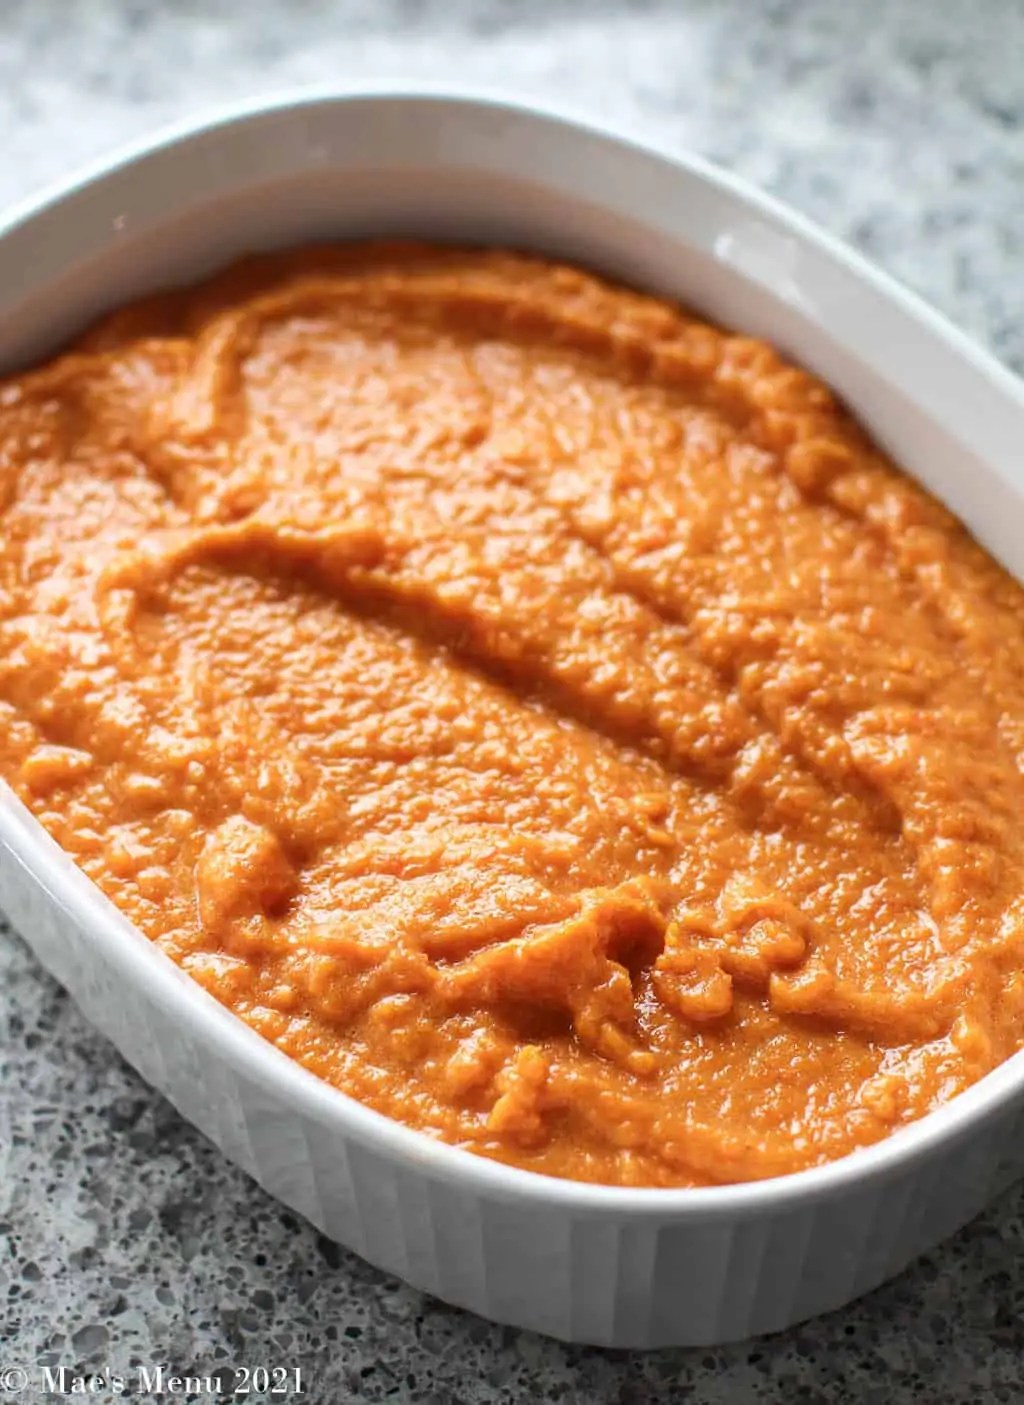
My cauldron may not be filled with gold. It is filled with GOOD LUCK SOUP🍀! Here’s hoping!

Good Luck Soup is traditionally served on New Year’s day. This soup is enjoyed during St Patrick’s day celebrations.

Collard greens represents financially prosperity. Black-eyed peas is the symbol of prosperity brought to us from the shores of Africa to their U.S. counterparts.
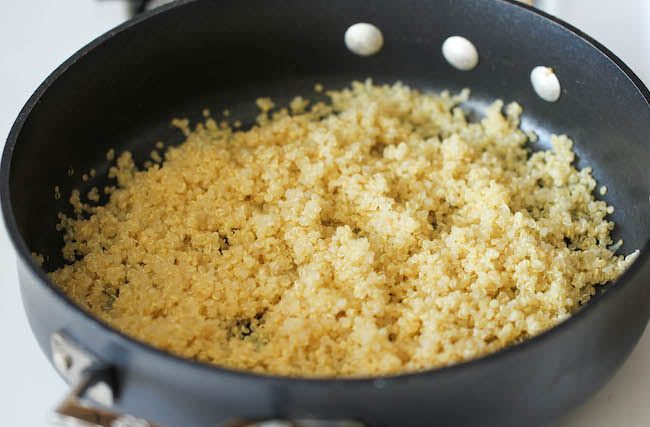
Good Luck Soup

  • Servings: 4-5
  • Difficulty: easy
  • Print

INGREDIENTS
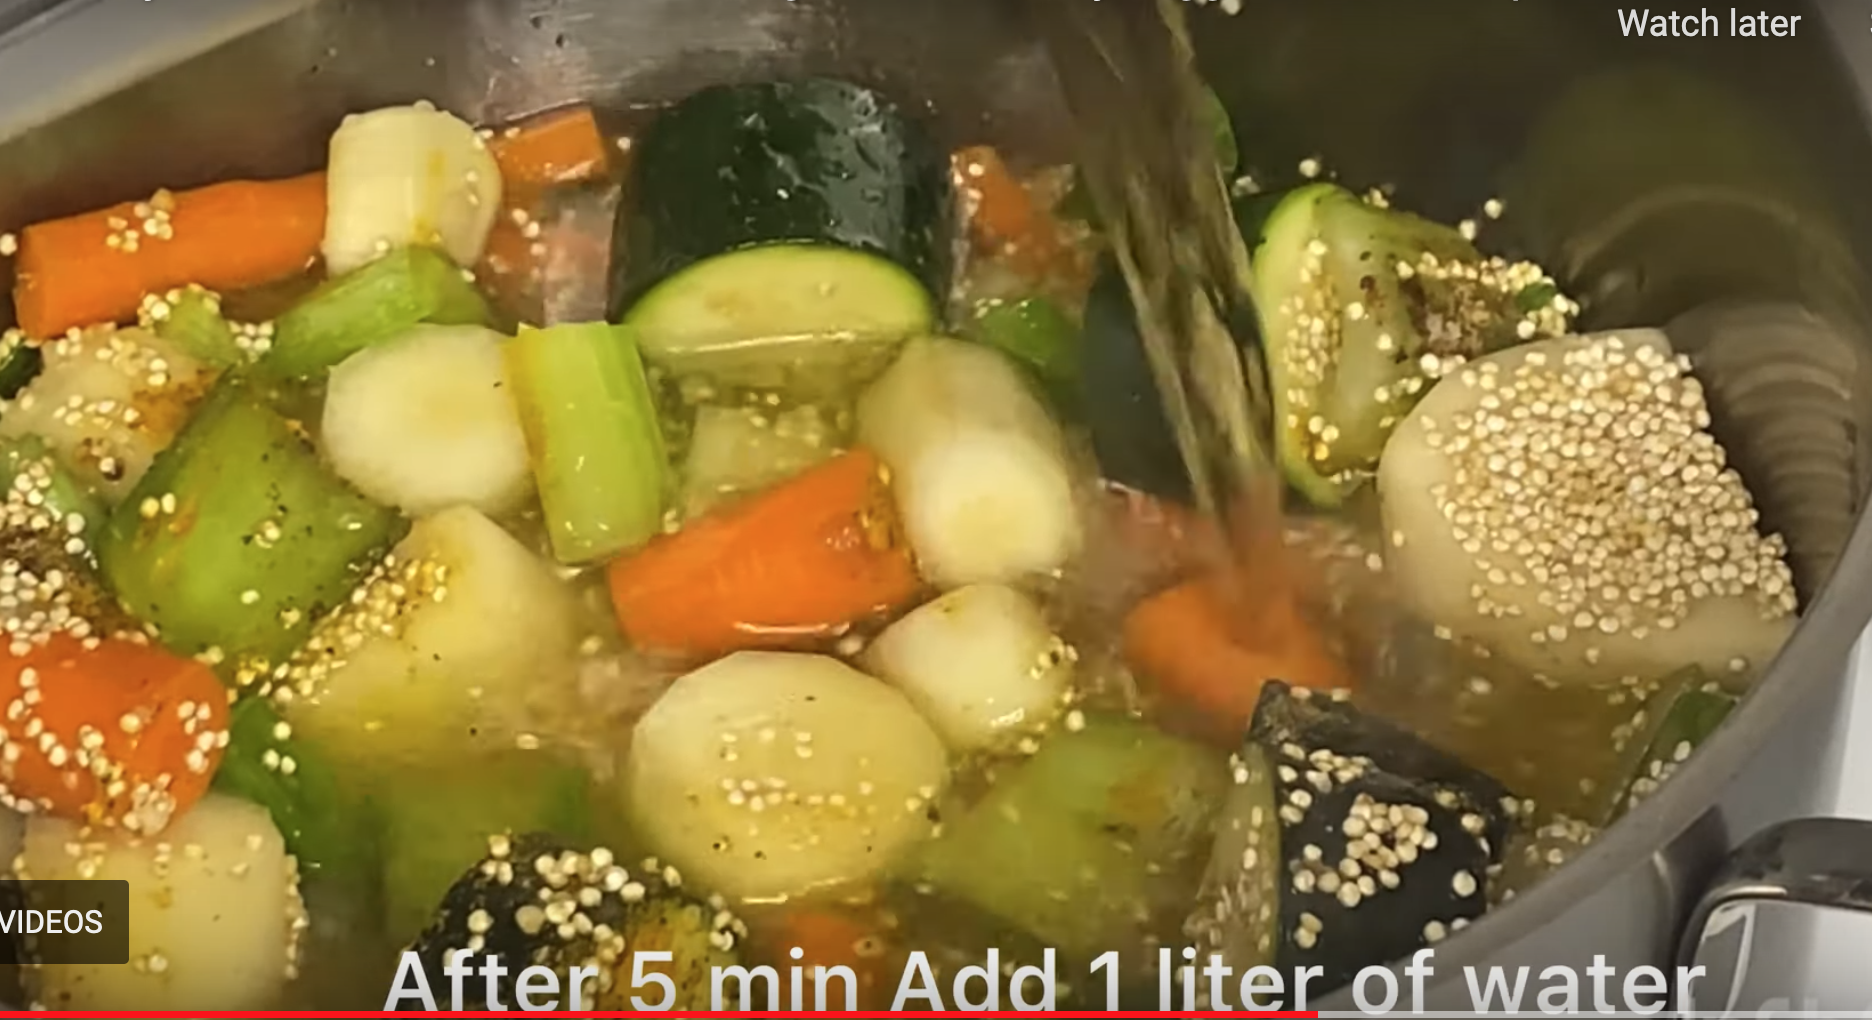
•  Chop the collards first.1-2 bunches of collard greens ( You decide how much you want – more is good)
•   1 large onion (or 2 medium onions).
•   5 cloves of garlic
•   3 tablespoons of olive oil
•   1 tsp. chili powder
•   1 tbsp. smoked paprika (heaping)
•   2 tsp cumin seeds (smash, do not grind)
•   1 tbsp. cinnamon (heaping)
•   10-15 green or white cardamon pods*
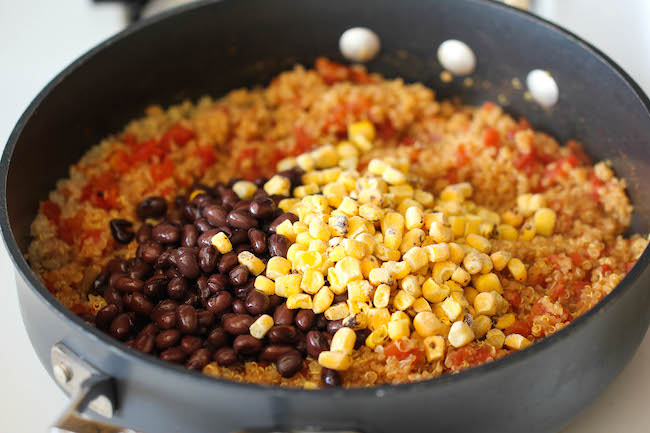
•   2-3 14-16 fl oz drained cans black eyed peas [baby Lima beans, navy beans, cannellini beans, chick peas ]Mix ‘n Match
•   1 can crushed tomatoes with 2 (tomato) cans of water
•   3 tsp pink Himalayan salt
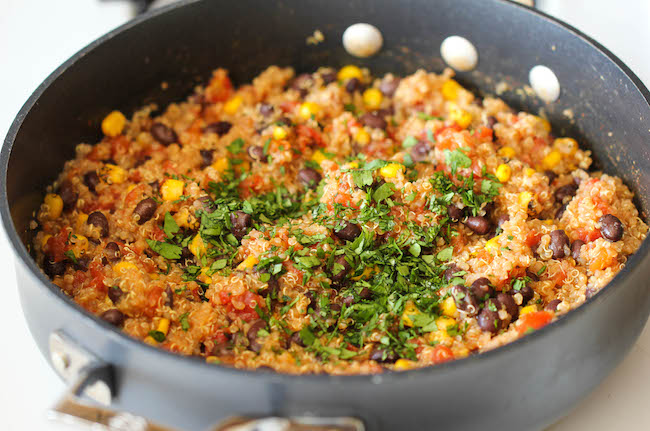
•   A handful of chopped cilantro (or parsley) about 1/2 cup
(add 2 diced carrots for color plus one chopped turnip or yellow carrot).

DIRECTIONS
•   Rinse and chop collards (Rip or cut out the hard center stem). Assemble and mix your dry spices in one bowl
•   Add oil to your dutch oven (or heavy pot). Add chopped onions, heat until translucent. Add spices and mix quickly.
•   Add chopped garlic and blend together. [ Add more oil if ingredients start to dry up ].
•   Add 2 cans of drained black-eyed peas (or mixed beans) Optional: Add a third can for extra luck!
•   Add chopped collards [collards are different sizes. Make sure your ratio is good. About 50:50; collards:beans]
•   Add chopped carrots+ turnip and 1 can of tomatoes + 2 cans of water. (more water if soup looks more like a stew)
•   Bring to a boil, then simmer for 15 minutes.
•   Add pink salt and chopped cilantro in the last 5 minutes of cooking.
•   Optional: Add about 1 tsp. of thyme, rosemary and/or 1/4 tsp hot pepper flakes.

We need as much luck and joy as we can get. Good Luck Soup can by eaten all year round not just on January 1st. or St. Patrick’s Day. If you have a smidgen of faith or a lot of faith enjoy this “lucky” soup all year around, and may your wishes and good fortune follow you!

GOOD LUCK! 🍀

Sweet Potato Soufflé

This healthier version of the original version of sweet potato pie. No crust and no sugar. And it tastes wonderful! Friends and family still say,

..this is the best sweet potato soufflè I have ever had!

Long ago, I was invited to classmates dinner during a crisp autumn weekend. I decided to bring a sweet potato cassarole with marshmallows. This was the first time I made this thanksgiving classic. I watched mom make lanttulaatikko at Christmas and substituted sweet potatoes for the rutabaga. She did not use a recipe and we didn’t have internet in those days. As I arrived, the host did not know what I brought. Too much studying. However, it was all gone. I kept my wheelhouse of spices when I made the sweet potato soufflè . I have never added sugar or syrup to this dish because mom never did. Subsequently I did not add any sweetener. Frankly, I never understand the addition of extra sugar to this delicious soufflè . I knew from basic chemistry that oven baking turns the sweet potato even sweeter.

Recipe ❤️

Sweet Potato Soufflè - Mildly Spicy

  • Servings: 4-6
  • Difficulty: medium
  • Print

INGREDIENTS
5 tablespoon salted butter, plus more for soufflé dish(es)
Fine ground rye bread crumbs -enough to coat the baking dish(es)
3 1/2 tablespoons all-purpose flour
3/4 cup whole milk
1 1/2 cup mashed sweet potatoes
3-4 large eggs, separated, and at room temperature
1 teaspoon ground nutmeg
1 tsp cinnamon
1/2 tsp. chili pepper
1 tbsp. lemon zest (one lemon)
3-5 cardamon pods – ground (optional)
A pinch of turmeric (optional)
A pinch of cumin (optional)
1/4 tsp cream of tartar (for egg whites- stabilizer)
A pinch of salt (for egg whites)

DIRECTIONS

1. Preheat oven to 400 degrees.(Prep dish as oven is heating) Butter a 1-quart soufflé dish -or ramekins- and coat inside with butter, followed by fine bread crumbs, tilting and turning dish to coat sides completely.
Prepare Sweet Potato
2. Microwave sweet potatoes by puncturing with a fork in several places & wrapping in a moist paper towel set at high for 5 minutes. Check if done by poking with a fork. Flip the potatoes over and continue to microwave for another 2-3 minutes. minutes. The moist paper towel allows for fast peeling.
Purée Sweet Potatoes
3. Cool potatoes to room temperature, then transfer to a food processor or blender. First, purée fresh chilli peppers. Then add sweet potatoes. Purée until smooth, to yield 1 1/2 up to 2 cups.
4. In the microwave, heat milk (about 20-30 seconds) until hot, but not boiling. Place hot milk in the bowl of an electric mixer and slowly add sweet potato, butter and spices. Blend well. Taste to determine if you need more spice. Then, whisk 4 egg yolks and add to sweet potatoes. Blend well.
Egg Whites
5. Beat 4 egg whites with a pinch of salt + 1/4 tsp. cream of tartar in a very clean chilled bowl (copper bowl -if you have one) until stiff peaks start to form.
6. Fold egg whites into sweet potato mixture; pour into prepared soufflé dish(es). Flatten the top of the dish with a knife and use your finger to follow around the inside rim to create a rounded, high, even puff. Turn oven down to 375F. Bake for 25 to 30 minutes or until well puffed and browned on top. Serve immediately.

Egg Whites: Fix

The most crucial step in all soufflès are the egg whites. Whisk egg whites until foamy and just turning to a peak. Some chefs add cream of tartar ( in lieu of sugar or plus sugar) to prevent the egg whites from collapsing. Over whisking egg whites will result in dryness and breaking of the soufflè. If your souffle does not rise a lot do not worry. It will taste great. If you like this dish, you can achieve great heights the next time you make it! 🙂

Vegan Version

  • Olive oil instead of butter
  • Unsweetened vanilla almond milk instead of regular milk
  • Leave the skin on because it’s full of nutrients
  • Add a little bit of turmeric to balance blood sugar. [ you can not taste it in the pie]

Healthy Nutrition

Sweet Potatoes are known to be beneficial to individuals with type 2 diabetes due to the high levels of magnesium and fiber, which helps in reducing insulin resistance and stabilizes blood sugar.

Sweet potatoes have a large level of carbohydrates. But, they generally have a low glycemic index: of 61.

VARIATIONS

To the base: add grated ginger, garlic, apples, pineapple, cranberries, currents, cheese or white potato. Sprinkle cinnamon on top. Add au juice: hot cinnamon/apple/cranberry juice to the table.

<– This souffle is broken. As the famous Julia Child would say, “No one will know.

Orange Sweet Potato (most common), Red Jamaican (white inside) and Japanese Sweet Potato (All red)

Coffee Soufflé ☕ by Julia Child

You may guess I am a big fan of Julia Child. Julia Child’s coffee soufflé directions are standard and apply to the sweet potato soufflé . Good Baking Tips!

Quinoa Tacos – Super Easy

This ‘Mother Grain‘ has taken the world by storm!

Quinoa Tacos: Arugula, Fresh Corn | Diced Sweet Potatoes | Hard Shell Classic Taco

Quinoa Tacos

  • Servings: 3-4
  • Difficulty: easy
  • Print

INGREDIENTS
1/2 cup uncooked quinoa
10 ounces of whole San Marzano Tomatoes -chopped
1/2 cup vegetable broth (or water with 1 tbsp.Knorr chicken powder)
1 teaspoon chili powder
1/2 teaspoon cumin
1/2 teaspoon garlic powder (or 1-2 fresh garlic-chopped)
1/2 teaspoon onion powder (or 1 small red onion-chopped)
1/4 teaspoon smoked paprika
1/4 teaspoon red pepper flakes
2 cardemon pods -ground
Kosher salt (add at the end) and freshly ground black pepper, to taste
1 cup canned black beans, drained and rinsed
1 cup frozen corn kernels
Juice of 1 lime
2 tablespoons chopped fresh cilantro leaves
8 corn tortillas
Optional: 1 avocado, halved, seeded, peeled and diced
1/4 cup sour cream
INSTRUCTIONS
1. Heat quinoa and 1 cup water in a large saucepan over medium high heat. Bring to a boil; reduce heat and simmer until water is absorbed, about 15-20 minutes; uncover and fluff with a fork.
2. Stir in diced tomatoes, vegetable broth, chili powder, cumin, garlic and onion powder, paprika and red pepper flakes. Bring to a boil; reduce heat, cover and simmer until thickened, about 10 minutes.
3. Stir in beans and corn until heated through, about 2 minutes. Stir in lime juice and cilantro and kosher salt. Option: Add cooked cubed sweet potatoes, roasted cauliflower or roasted chick peas to the mixture. You can substitute ingredients -except the quinoa.
To serve, spoon quinoa mixture into the center of each tortilla. [optional] Top with avocado and sour cream. Add lettuce, red peppers and cheese, if you desire.

Quinoa Types – Three’s The Charm

Quinoa Varieties: Black, Red and White

TACOS, burgers and breakfast porridge are best for black quinoa.

The most common type of quinoa is white quinoa. Red quinoa is best used in cold salads. Black quinoa is a bit earthier and sweeter than the milder taste of creamy, white quinoa. All three quinoa can be used in the same recipes. Red and black quinoa have a bit of a crunch, which is what is expected.

Master Chef Tells You The Best And Easiest Way To Cook Quinoa

This Quinoa Cooking Method (below) is long. But, it has good tips and you may want to try it out.

Protein Boost

We add quinoa for a protein boost , lowers cholesterol, reduces increase in insulin levels. Even though it is cooked like a grain, quinoa actually is a seed, from a shrub. A mild, rice-like flavour blends well with vegetables.

BONUS Recipe -Leftovers

Quinoa “Leftover” Soup: Vegan & Gluten Free

The perfect soup to use up leftover veggies – before you have to toss them!

Easy Quinoa Soup

  • Servings: 6
  • Difficulty: easy
  • Print

INGREDIENTS
1/2cup Quinoa
1 tablespoon Olive Oil
1 potato
2-3 carrots
1 parsnip
2 celery sticks
1 zucchini
2 cloves Garlic (add more if you are a fan)
1 teaspoon salt, ginger, black pepper, turmeric, coriander
[use Kosher Salt and freshly ground black pepper]
1 liter (4.2 cups) of water

DIRECTIONS
Chop vegetables
Heat pot with 1 tablespoon of olive oil
Add vegetable and quinoa, mix together with a wooden spoon. Add spices.
Keep mixing for about 5 minutes, then add water
Simmer for 30 minutes
Puree vegetables with an immersion blender
Taste soup in case you want to add more spices

Quinoa is rich in antioxidants that helps your body as well as your skin. It protects you from damage and many chronic diseases too. High fiber prevents constipation. Black quinoa helps you gain energy and strengthening your muscles. For post workout, black quinoa is a good recommendation. 1/2 cup of "black" quinoa has 12 grams of protein while white quinoa has 2 grams of protein."

FOCACCIA Bread ~Gluten Free Italian Style

Hot 🔥 From The OVEN

Easiest Gluten Free Bread! Olive oil is healthy. Yeast supports the immune system. Kosher Salt is the winning ticket. We must not forget the Rosemary!

Focaccia Bread -Gluten Free

  • Servings: 8
  • Difficulty: easy
  • Print

INGREDIENTS
2 teaspoons active dry yeast
2 teaspoons inulin or sugar to feed the yeast*
1/3 cup water lukewarm between 105-110°F {40-45C)
1 1/2 cups almond flour (your choice of gluten free flour)
3 tablespoons psyllium husk finely ground
1 tablespoon ground flax seeds (or 1 1/2 teaspoon xanthan gum -thickening agent)
1 1/2 teaspoon baking powder
1/2 teaspoon kosher salt
1 egg at room temperature
2 egg whites at room temperature
1 tablespoon extra virgin olive oil
2 teaspoons apple cider vinegar
TOPPING
Rosemary springs …extra virgin olive oil ….kosher salt

INSTRUCTIONS
1. Add yeast and sugar (to feed the yeast) to a large bowl. Heat up water to 105-110°F. If you don’t have a thermometer it should only feel lightly warm to touch. Pour water over yeast mixture, cover bowl with a kitchen towel and allow to rest for 7 minutes. The mixture should be bubbly, if it isn’t, start again (too cold water won’t activate the yeast and too hot will kill it).
2. Mix your flours while the yeast is proofing. Add almond flour, psyllium husk, flax seed, baking powder and salt to a medium bowl and whisk until thoroughly mixed. Set aside.
3. Once your yeast is proofed, add in the egg, egg whites, olive oil and vinegar. Mix with a whisk or electric mixer for a couple minutes until light and frothy. Add the flour mixture in two batches, mixing until thoroughly incorporated. You want to mix thoroughly and quickly until the dough becomes thick enough to form into a round ball, cover and place in the fridge overnight.
4. Line a baking sheet with parchment paper and grease with olive oil (so the dough doesn’t stick while you spread it). Gently drop the dough on top of the sheet. Watch it spread in about two hours. The dough will have filled the pans and be almost ready to bake. With your ‘oily’ fingers, gently finish spreading the dough and make indentations in the dough, filling with rosemary sprigs, drizzle of olive oil, add KOSHER salt.
5. Cover with a kitchen towel and place in a warm place for up to an hour until a fluffier texture. You don’t want the dough to double. It will puff up (see pictures for reference).
6. Preheat oven to 350°F/180°C while the dough is proofing. High altitude baking: bake it at 375°F/190°C.
Transfer gently to baking sheet..let dough proof for 10 more minutes. Gently spread covering the baking sheet. Bake for 25-30 minutes, covering with a foil dome at minute 10 to avoid excessive browning. Just be sure that the foil isn’t resting directly on the focaccia .Cool for 5 to 10 minutes before cutting

THE SECRET! 🤫 Overnight Proofing!

Use Fresh or Dried Rosemary
TIP: For easy cleanup use parchment paper to line your pan!

Yield: 8 servings, Serving Size: 1 piece
Amount Per Serving: 138 Calories | 11g Fat | 4g Total Carbs | 2g Fiber | 7g Protein

Serving Suggestions!

TRENDING – Focaccia Bread 2022

KETO Focaccia bread has the same fluffy and soft texture that you’d expect from a full carb version of the bread. For my KETO Focaccia, I used almond flour. I actually like the taste of gluten free breads better than carb breads. LESS CARBS is always good in my books!!!

What Is KOSHER SALT?

KOSHER (kashrut) SALT has a wider grain than table salt. Using kosher salt enhances the flavor of foods instead of making them taste salty. Good bread makers in Toronto use Kosher salt in some of their breads. The salt taste stays grainy on bread and has a milder flavour than table salt. Wonderful for focaccia bread! Kosher salt is popular on pretzels.

GLUTEN IMITATORS

PSYLLIUM is a common thickener in the food industry. Psyllium makes baking products with a wheat-like texture. Pysellium seed is a pale wheat colour. Inulin and psyllium are a plant based fiber from leeks onions. Other enhancers like Flax or Linseed comes in brown or golden colour. Xanthan gum , a creamy, white powder, plays the crucial role of imitating gluten. It is a derivative of carbohydrates/sugar. NOTE: If you are allergic to Flax seeds use Xanthan.

Link To Gluten Free Flour

GLUTEN FREE FLOUR: DrAxe.com

What’s Missing?

Ans: The Gluten!

Focaccia Bread

  • Servings: 10-12
  • Difficulty: easy
  • Print

Put your recipe here.

Ginger /Pumpkin Jam ~ No Sugar!

I have revised this recipe This jam uses pumpkin. Pumpkin pairs well with oranges and lemon. I added tangerines because it’s my favorite. I also like ginger with lemon. I cant decide. I make both! Pumpkin & Ginger Jam tastes more like marmalade than jam due to the crystalized ginger and lemon (orange, tangerine) zest. There is a subtle sweetness. Dates are an excellent source of fiber, calcium and iron. Did I mentioned they are delicious!?

Freezer Jam Is The Bee’s Knees!

FREEZER JAM –>Spicy ginger, nutty, mildly sweet pumpkin, zesty citrus zest with date paste. NO SUGAR!

DATE SUGAR is recommended to have a 1:1 substitute ratio with refined sugar. I still use less ‘date’ sugar in my own jams. I find jams ridiculously sweet. Some jams we used in Finland were cloudberry, lingonberry, cranberry and blackcurrent jams. They were not as sweet as jams in Canada or the US. Make it to your own taste. As you like it. With less “sugar” you can taste the fruit more. I am used to that.

NOTE: site.google.com is no longer providing a print feature. I will get the code to add a new print button as soon as I can do it! 😦

PUMPKIN / GINGER/ DATE Jam Recipe

INGREDIENTS

  • 1/2 – 1 CUP of diced ginger (peel ginger by scraping with a metal spoon or use a peeler)
  • 1 1/2 cup of date sugar [ watch the DATE SUGAR making video – see below ]
  • 3 1/2 heaping cups of fruit (about 2 lbs); tangerine segments combined with cooked pumpkin. You may add apples and/or apple peals,mandarin oranges or lemons. Note: It all has to add up to 3 1/2 cups
  • *Zest 3 tangerines [ use **zest tool -see below] and soften in 1/3 cup of hot water [use microwave]
  • A big pinch of sea salt [enhances the flavour]
  • 1 lemon zest, about a heaping tablespoon. (*Zest lemon and combine the lemon zest with the tangerine zest )

INSTRUCTIONS

  • Prepare GINGER: Finely dice or purée in a blender. TIP: You can do half puréed and half rough, diced ginger, for texture.
  • Dice/chop tangerine segments (or other citrus fruit) with cooked pumpkin to make up 3 1/2 cups of fruit + pumpkin.
  • Mix chopped fruit, softened zest and DATE SUGAR together. and set aside for 1 hour [ very important step ]. You can use puréed dates – add water as needed
  • Add mixture into a heavy pot. Then, add tangerine juice, ginger, salt and left over zest water. Bring to a boil over medium/high heat. TIP: Make sure your pot reaches a rolling boil for about 3 minutes.Your jam is very close to being done. At this point you should have reached the required temperature to set your jam/jelly)
  • MONITOR For Doneness: Cook fruit until your thermometer reaches 220 F or 105C. [about 30-60 minutes]
  • If you are not using a thermometer, test the jam by looking at the drips from your stir spoon. Slow, syrup-like drips indicates the jam is ready. NOTE: I recommend this for experienced jam makers. CANNING TIPS: freshpreserving.com. For newbies: Use the thermometer and spoon test together to see how the jam looks at the correct temperature. You will get to know when its ready with the eye test. You may skip the thermometer test after you are more experienced.
  • Remove pot from heat when you have reached the required temperature.
  • Place jam in warm, sterilized jars and store in the fridge for 3 weeks or freezer for up to one year.

NATURAL PECTIN ~CITRUS ZEST

*ZEST: The majority of the pectin resides in the citrus peel. Natural pectin helps remove toxins such as lead and mercury from your body. TIP: make single batches only. Double batches do not work well. Gift extra jam to friends.

**Zest Tool

COMMERCIAL PECTIN

Commercial pectin is made from Apple pulp, citrus zest and acidic lemon juice. Pectin like Certo and Sure Jell are added to jams to promote a thick gel while making home made jam. But, that can change the flavor of your jam. If you want to ensure you are “Gellin”(geletin) with ‘natural’ jam, you can add apple skins to your jam for added pectin. Sieve the apple peals out as you fill your jam jars. I use the tangerine zest for my natural pectin in this ginger/pumpkin jam recipe.

How To Dry DATES:

  • Clean the dates by rinsing
  • Soak dates in 1/2 vinegar and 1/2 water for 15 minutes. dates
  • Spread onto a tray and dry in the oven at 250 F
  • Oven or air dry dates until hard
  • Place dry dates in a grinder and reduce to a granular powder

Date Powder – A Surprise Find!

Date sugar is good if you want to sweeten any recipe. Add date sugar to your coffee if you are removing sugar from your diet. It is a good transition away from sugar.

Jam or Preserves?

What Is The DIFFERENCE Preserves and Jams?

ANSWER: No! There’s really not a whole lot of difference between the two besides the form you give the fruit. Preserves have more chunky fruit.

FREEZER JAM TIPS

  • Watch the way the jam drips.
    • Swirl your spatula through your cooking jam, hold it up over the pot, and watch how it falls. If the jam runs right off the spoon and looks thin and runny, it’s not done yet. However, if it forms thick droplets that hang heavily off the bowl of the utensil, but don’t immediately fall off, it is either nearing completion or is done. When the jam falls off the spoon almost like a sheet..it is completely done.
  • Give it time to Set.
    • Jam can take up to a week to achieve its finished set. You may think its runny, but its not. Some jams take 3 hours or 3 weeks to set into a gel like state. Don’t declare it a failure ten minutes out of the pot. I learned the hard way. If it’s done and runny put the jam in a jar. It’s okay. As it cools the jam thickens. Be Patient
    • HARD JAM: If you cook your jam too long it will start to get hard or even burn in your pot. Take heed of a thermometer or the dripping spoon test. Everything can happen very quickly when you are on a rolling boil.
  • Watch and listen.
    • When is the jam ready? As a seasoned jammer, I have learned that most batches of jam will tell you when they’re done. When the cooking noise takes on a frenzied quality that sounds more like a sizzle than a gentle boil. IT IS DONE ! You will also notice that towards the end, the foam subsides and jam starts to gather more thickly on the sides of the pot, and it begins to splatter more violently.

Two Dates a Day..Keeps The Doctor Away!

Noor Dates
Two Noor Dates

How To Make Your own Date Sugar [ Easy]