EGYPTIAN Duqqa ~DUKKAH
SPICE OF LIFE! Sesame seeds found on bagels and hamburger buns are now enhanced or “stepped up a notch” with this century old mixture called Duqqa adds protein, rich nuts and spices to make your taste buds sing. 🎵

There are as many recipes for DUKKAH as there are Egyptian cooks. I like the protein from nuts and seeds. Tonight, having rainbow trout that I will dredge in DUKKAH. Sesame seeds are a must. Mix hazel nuts, walnuts, pistachio nuts, and/or pine nuts with the classic almonds.


Egyptian Dukkah Recipe
INGREDIENTS
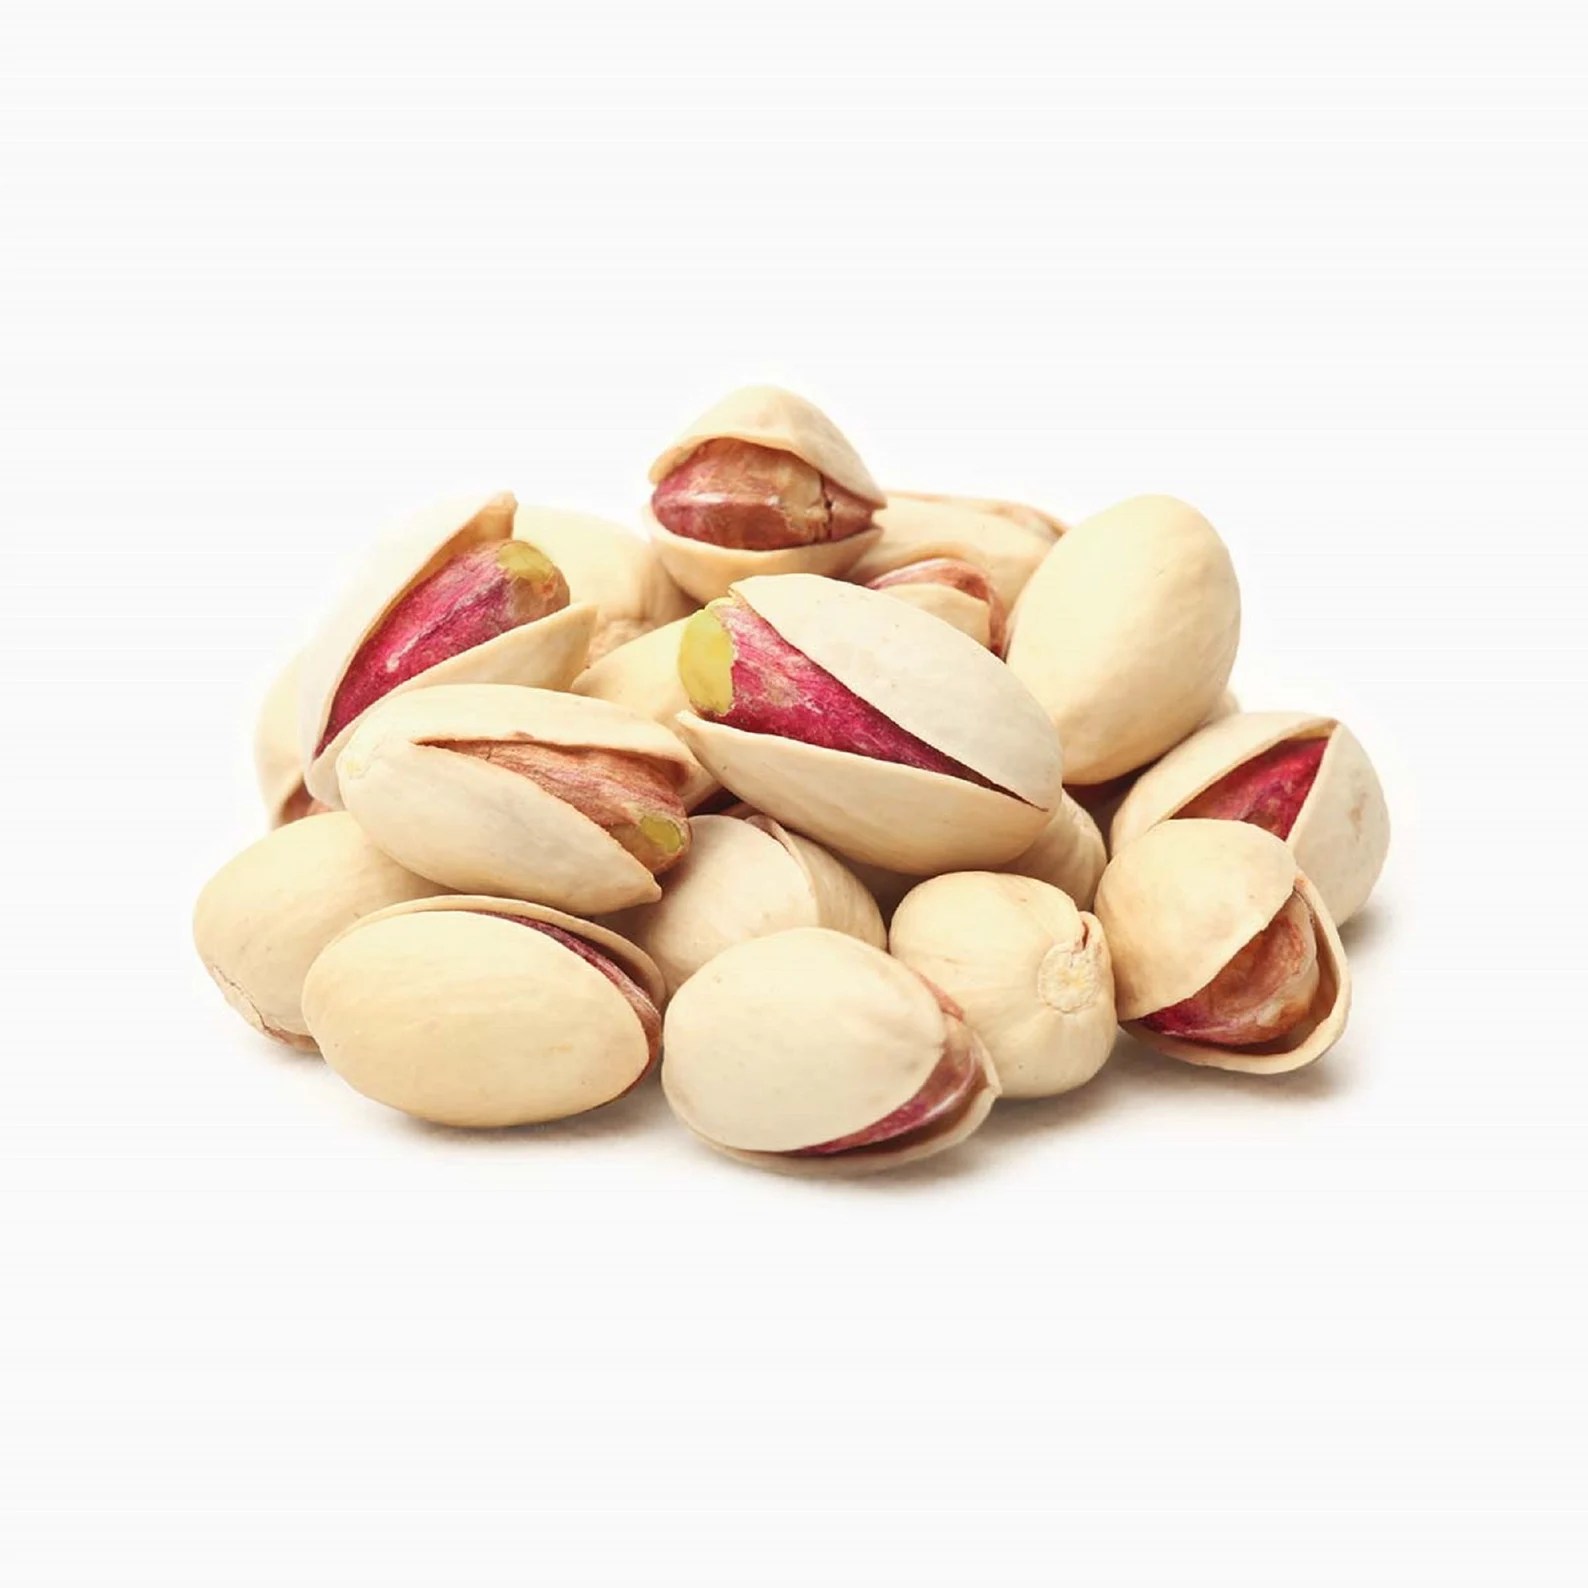
▢ Nuts: 3-4 tbsp each Hazelnuts, almonds and pistachios
▢ Spices:
▢ 4 tbsp (1/4 cup)Sesame Seeds
▢ 1 tbsp Fennel Seeds
▢ 1 tsp cumin seeds (or powder)
▢ 1 tsp coriander
▢ 1 tsp red pepper flakes (optional)
▢ 1/2 tsp. kosher salt (I use Celtic Salt)
INSTRUCTIONS
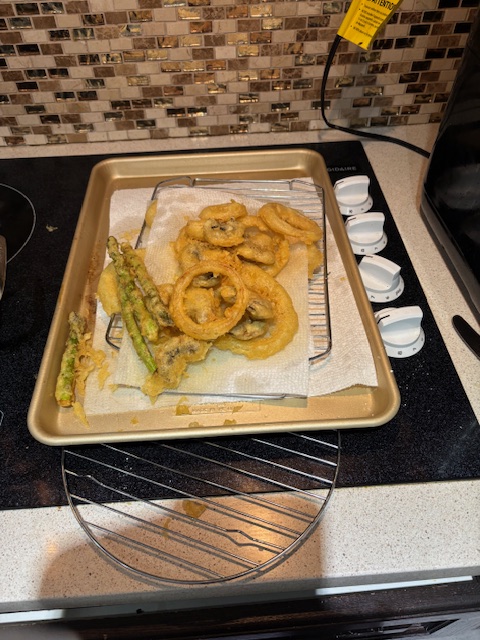
Toast/roast the nuts in the oven at 350F. Toast the sesame seeds in the oven in a separate small baking sheet. Watch for doneness!!
Dukkah depends on the freshness of the ingredients. Typically the spices are used whole, then crushed.
Combine the nuts, seeds and spices in a bowl. Crush and blend with the classic mortar and petal, or a food processor.
Pulse the processor until the nuts are well crushed. Do not over process to a powder form.

ROASTING NUTS AND SEEDS
Attempted to toast in a dry skillet on the stove top ends up with a burnt exterior and completely raw, untoasted interior. I have burned my share. Using the oven to toast your nuts is ideal because an oven provides uniform, even heat, which means that the nuts are going to be toasted from the inside out.
ROASTING TIPS🔥

Preheat oven to 350ºF. Line a baking sheet with parchment paper. Oven must be at a low temperature. Use an air fryer for convenience and speed. Cook the nuts only until they start to turn golden (a light brown) with parts still appearing raw. Your nose also tells you when they are done too.
Is Dukkah The Same As Za’atar?
I get asked this question a lot. The answer is: no. While Dukkah and Za’atar are two Middle Eastern blends that can be used similarly, they are clearly not the same in texture or flavor profile. DUKKAH is crunchy and granular. Za’atar , a finer blend, is a mixture of toasted wild thyme and sesame seeds along with sumac.
Pickling Instructions 🥕🥕🥕
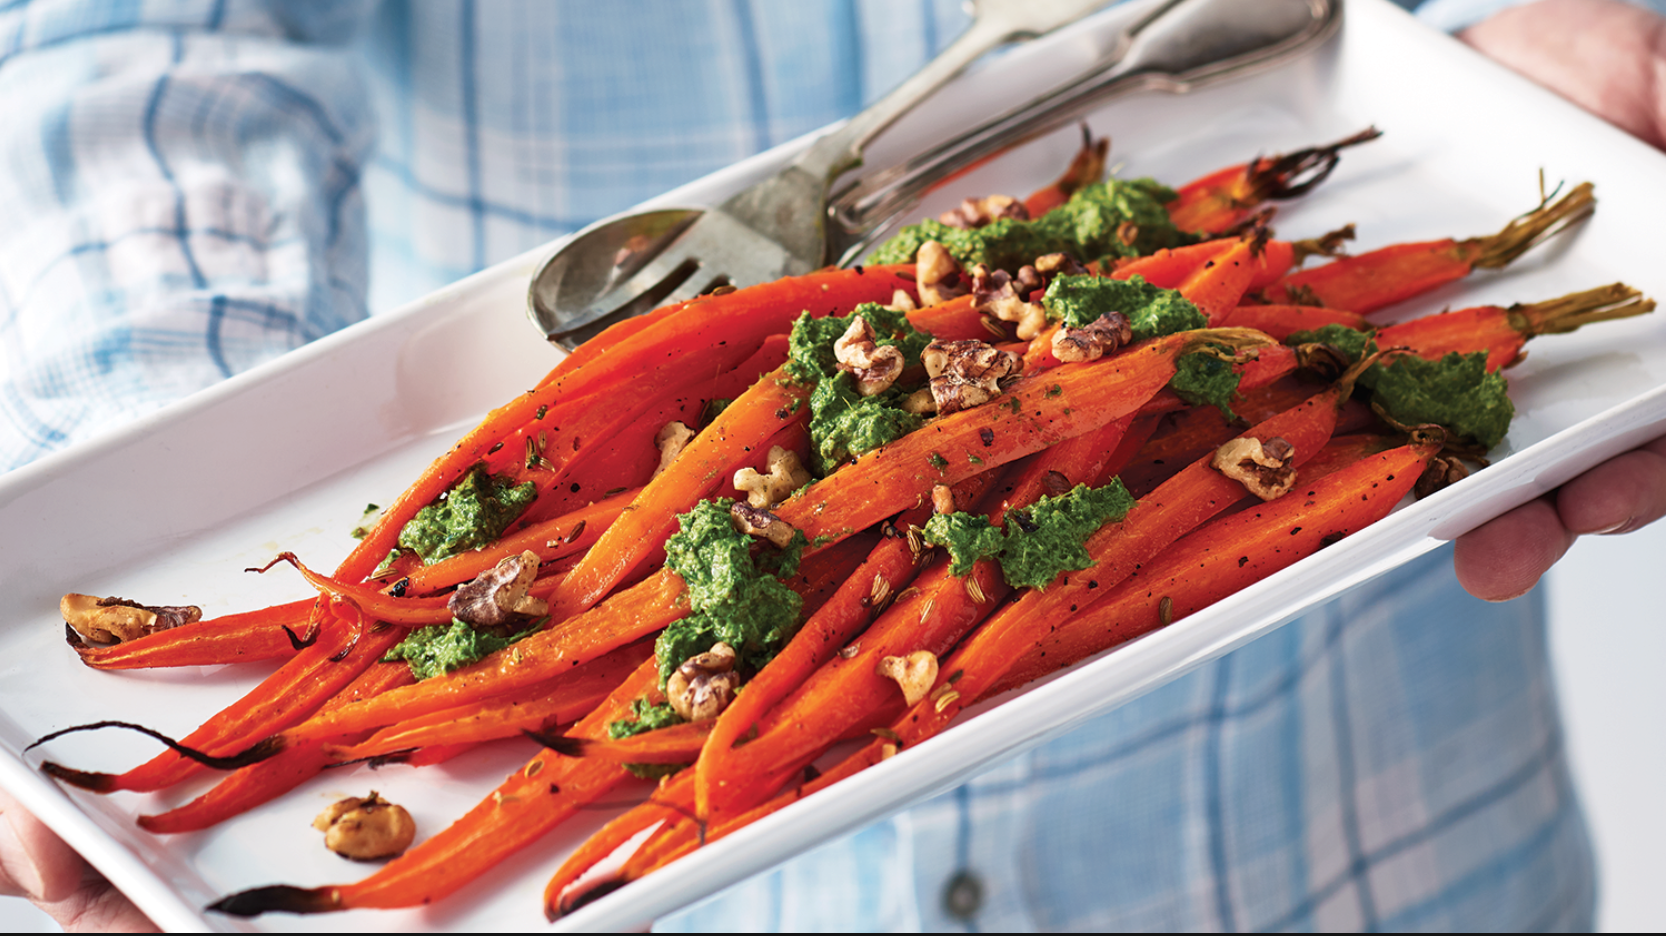
Pickled Carrot Presentation
INGREDIENTS
▢ 2 cups of pickled carrots (add zucchini + cucumber -optional)
▢ 1/4 cup fresh mint leaves (or basil)
▢ ½ cup of home made yogurt (see recipe) ~you decide how much per person)
INSTRUCTIONS/PRESENTATION
Add a large dollop of yogurt on your plate and spread it around
Place carrots (and zucchini) on top of the yogurt followed by fresh chopped mint or basil.
Finish with a sprinkling of DUKKAH on top of the vegetables with a drizzle of your favorite olive oil.
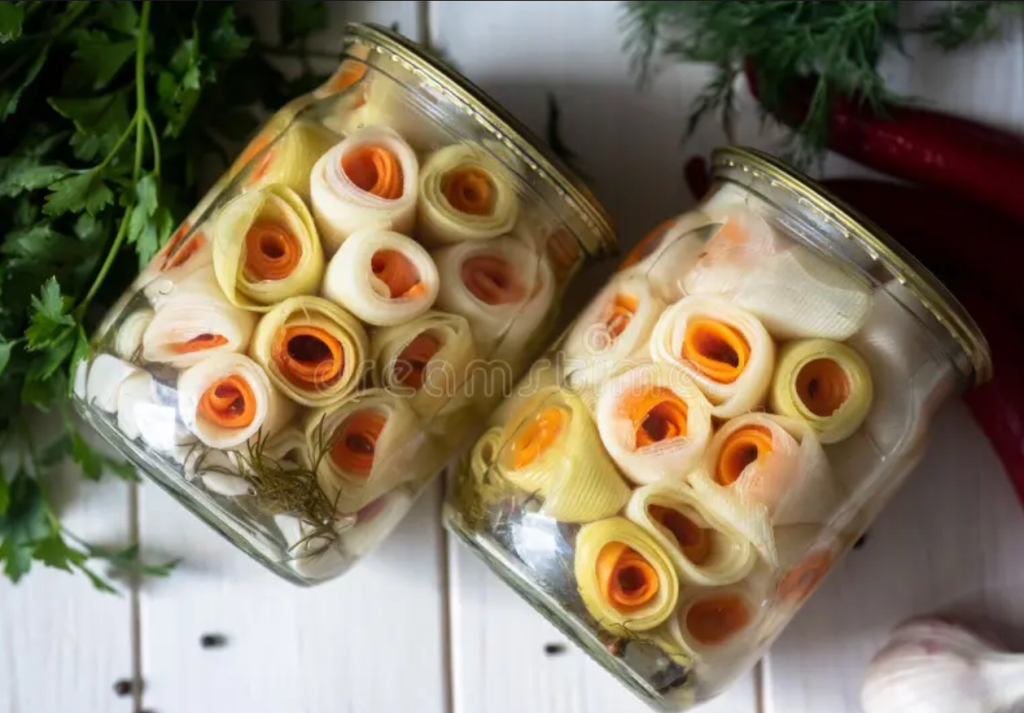
PICKLING PROCESS: Use a vegetable peeler to make carrot/zucchini/cucumber ribbons. Submerge veggie ribbons in a bowl with a mix of 1/2 apple cider vinegar and 1/2 water. Ready in one hour! Or, refrigerate overnight. I like adding pear ribbons. Tastes great. 🙂
FAST PICKLED CARROTS
You don’t have to roll your carrots and zucchini like I have done here. Alternate with carrot on the outside. Or place in jars randomly. These pickled veggies were placed in a large steel bowl marinating overnight and then placed in jars stored in the fridge for 1-2 weeks. You will use them up quickly. Hint: If you get peckish. Take a veggie roll from the jar and enjoy! Healthy snack!


Pickled Carrots 🥕 Is Good For Your Gut Health

PICKLED CARROTS offers vitamins, minerals, and antioxidants.They are low in calories and fat, making them a healthy snack option. The fermentation process involved in pickling carrots (added mustard seed, 1/2 water, 1/2 vinegar) creates beneficial bacteria that support gut health.Cooking carrots depletes nutrients. Consuming pickled carrots in moderation can aid in weight loss due to their high fiber content. Adding pickled carrots to your meals provides additional nutrients.


DUKKAH (duqqa) with hummus is enjoyed as a dip or sandwich spread. Add pickled veggies as a burger topper. Sprinkle the Dukkah directly on the burger, chicken or seafood.
Using DUKKAH on so many foods encourages healthy choices as we develop good eating habits for better living!
Sprinkle Dukkah On Top Of Your Saurkraut/Carrot Side Dish!!
Add pickled carrots to sauerkraut. It softens the tanginess of the SAURKRAUT and adds good flavour. I also shred a raw potato to the sauerkraut and heat it up all together with the pickled carrots.(my German relatives recipe). OPTIONAL: serve with pork chops or sausages. 1 PROTEIN/Fat (sausage/port chops) plus 2 VEGGIES (carrot and cabbage).

Low Carbohydrate !!
Carrots are Complex carbs and Keto friendly. Very low carbohydrates. Carbs A cup (128g) of chopped raw carrots has 12.3 grams of carbohydrates, with 3.6 grams of fiber and 6.1 grams of natural sugars. Carrots are sweet! Almonds are not nuts they are classed as a stone fruit. Cashews are a fruit of the Cashew trees. As olive is a fruit too. The nuts you choose should come from a tree not in the ground(peanut).
AWE NUTS! Tree Nuts?
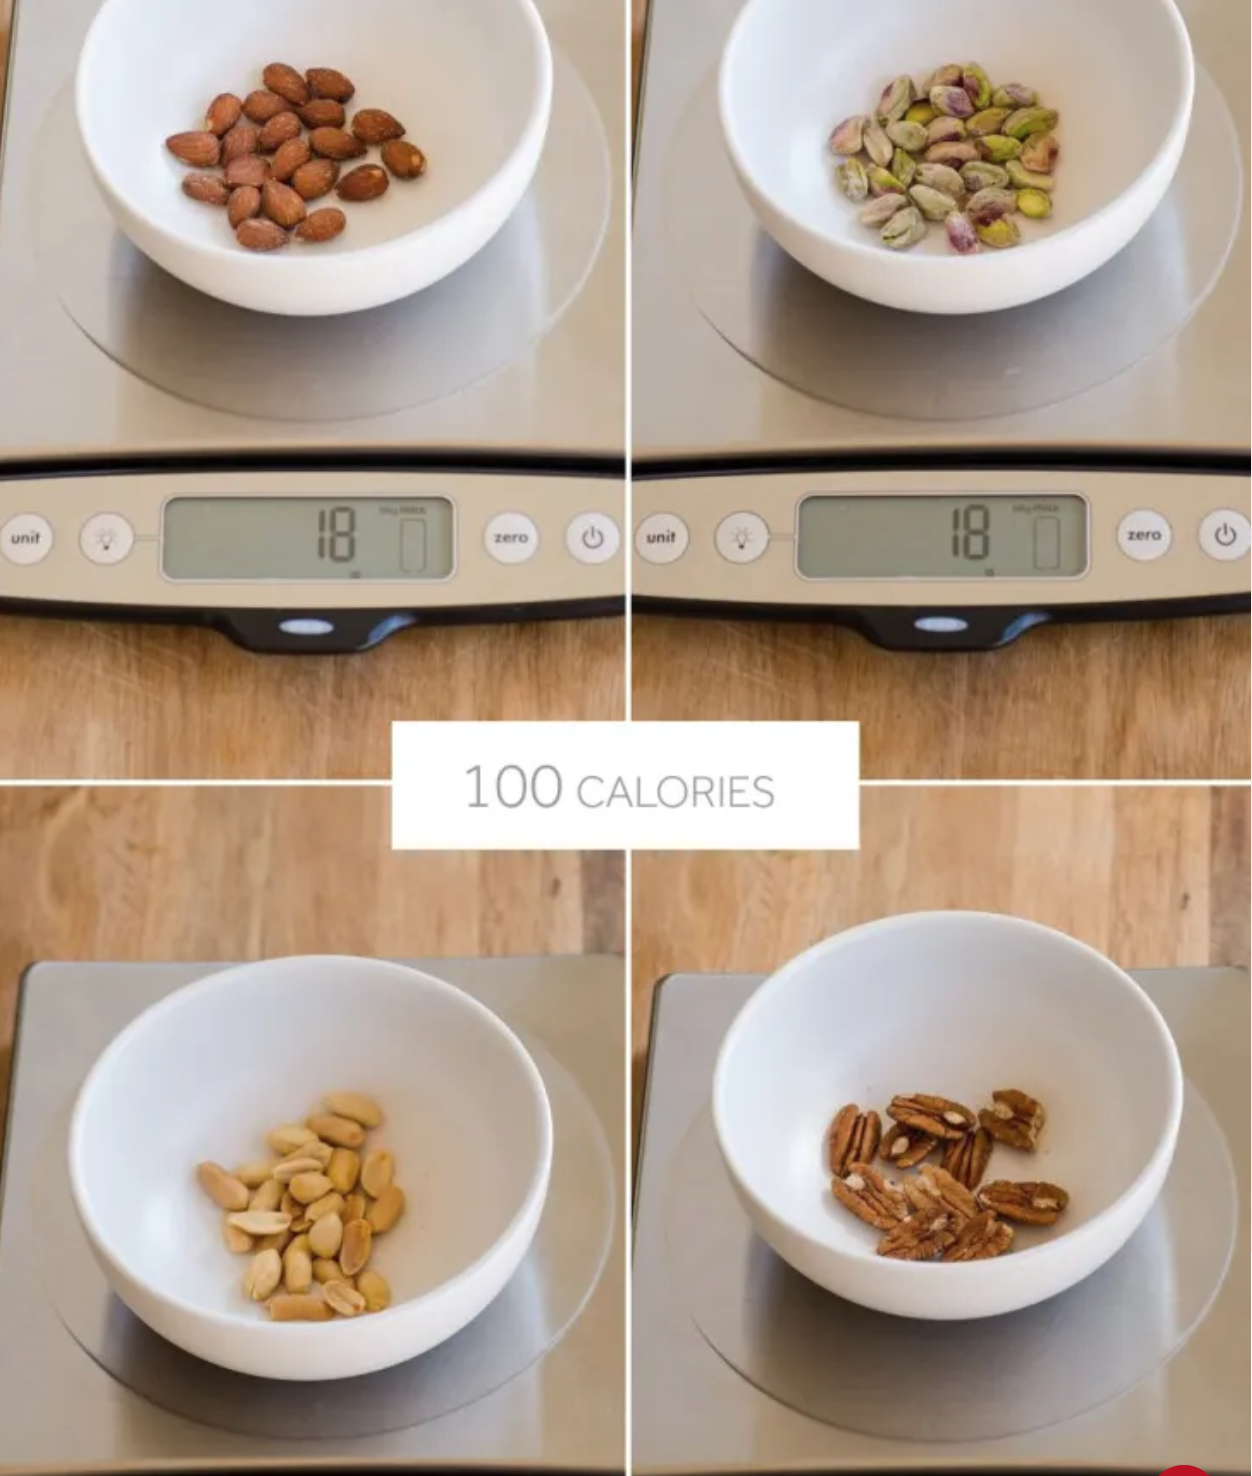
All these nuts are 15-18 gm weight. Eating dukkah does not involve a lot of calories since it is sprinkled on food.