ROASTING FRESH TOMATOES, carrots and onions until they’re soft brings out natural sweetness. All you need is simple seasonings, like aromatic oregano (or herbed de province ) and a good hit of garlic, to enhance this delicious, velvety tomato sauce. Make a big batch to freeze for the winter.


Recipe
INGREDIENTS
3 pounds Roma tomatoes, halved
1 yellow onion, halved and sliced into ¼-inch half moons
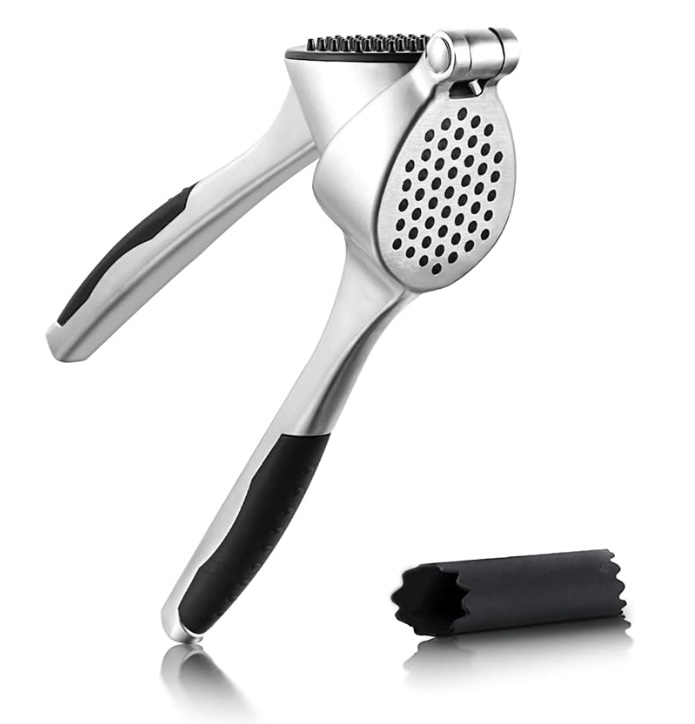
6 large garlic cloves
2 carrots, peeled and cut into large pieces
2 teaspoons Italian seasoning (or herbs de province)
½ teaspoon red pepper flakes or Aleppo pepper, (add more to your liking)
Kosher salt
Black pepper
Extra virgin olive oil
INSTRUCTIONS
1. Preheat your oven to 450°F.
2. Prep the tomatoes and vegetables. To a large sheet pan (or two medium ones), add the tomatoes, onions, garlic, and carrots. Sprinkle on the Italian seasoning, red pepper flakes, and a big dash of salt and pepper. Drizzle a generous amount of olive oil (about 3 tablespoons). ( I use a spray bottle ) all over the vegetables and toss to coat. Spread the vegetables well so that they are in one single layer and the tomatoes are cut side down.
3. Roast. Cook on the middle rack of the heated oven for about 35 to 45 minutes, or until the tomatoes have fully collapsed and the veggies have gained some color and charred in some parts.
4. Remove from the heat and set aside to cool briefly. If you like, use a pair of tongs to remove the tomato skins and discard (sometimes I just leave the skin on for texture when I want a chunkier sauce).
5. Blend. Transfer the tomatoes and their juices and the vegetables to the large bowl of a food processor fitted with a blade. For a smooth and silky sauce, close the lid and blend until you reach the desired consistency. If you want a rustic, chunkier tomato sauce, pulse until the tomatoes and vegetables are broken up to your desired consistency.
6. Use or store. Use immediately, or let cool fully before storing.

Tomatoes are the major dietary source of the antioxidant lycopene, which has been linked to many health benefits, including reduced risk of heart disease and cancer. Technically a fruit, tomatoes are found with vegetables—and they belong to the infamous nightshade family, which also includes eggplants, peppers, and potatoes. The carb content of tomatoes consists mainly of simple sugars and insoluble fibers. These fruits are mostly made up of water (95 %).
What to Serve with Roasted Tomato Sauce
Poaching eggs: Use just like the base Eggs. Bring the sauce to a simmer in a large, wide saucepan, then make holes to add the eggs, and cover until they’re set.
Meatballs or sausage: You can simmer the meatballs right in the sauce, or serve spooned over……
Pizza: Use as a base for homemade pizza.


meatballs with sauce/gravy – roasted sauce & poached eggs on a bed of hummus

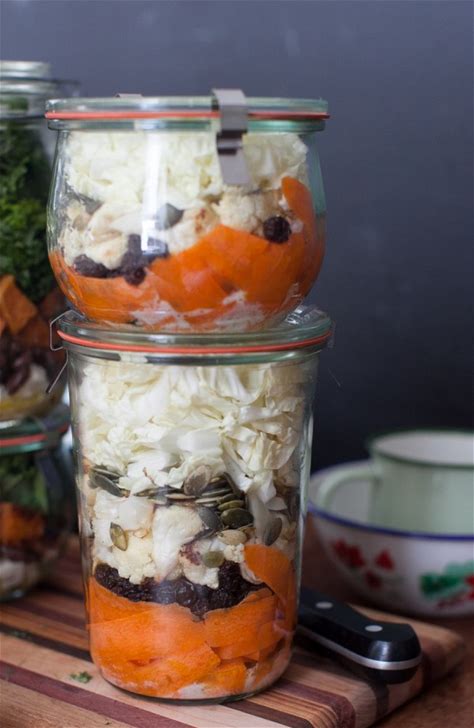
To store: Transfer the cooled tomato sauce to airtight mason jars or plastic containers and refrigerate for up to 4 days or freeze for up to 4 months. If freezing, leave 2-inches of headspace. Once frozen the sauce will expand in the freezer. Thaw overnight in the fridge before using.
Are TOMATOES Good For Your GUT HEALTH?

Whether they’re adding a delicious pop of color to summer salads, or making your savory sauces sing, tomatoes are one of the most well-loved prebiotic foods around. Tomatoes support a healthy, balanced gut. Antioxidants in tomato sauce (cooked tomatoes) boost the helpful effects of L. reuteri, resulting in the overall positive effect on gut health.
FOOTNOTE: I added 🥕carrots after I learned they are a preventative measure against Alzheimer’s ( mom’s disease). Onions are good for your immune system and much more. Along with the roasted garlic, I would add one fresh minced* garlic to each jar. (A garlic farmer’s suggestion) at the very end! Feel free to enhance the recipe to your liking. Make it healthy!