One day I sent 10 empty ‘Planters Peanut‘ wrappers to their office in exchange for a Planters coloring book. I remember the day my coloring book arrived with a nice letter from Mr. P. Nut and bonus stickers. I was a happy child. I always eat peanuts or peanut butter. It is not clear if Mr. P. Nut really existed or was a good marketing ploy? However, “MR P. NUT“ did arrive at the Planters factory in 1896.
Mr P. Nut
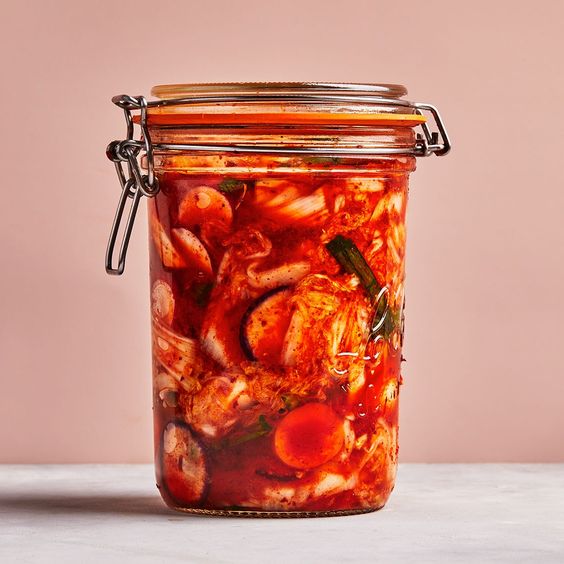
My favorite “Peanut Crunch Salad In A Jar” is a joy. If you have never had a peanut or sesame/pumpkin seed salad you need to try it out. Use different nuts. You can buy these salad toppings pre-packaged. It’s the best way to eat nutritious cabbage. I do not like tofu. But, I am a big, big fan of edamame beans. My bean caviar. You can have this quinoa salad without peanut butter to give a fluffier salad. It’s all good!


Peanut Crunch Salad in a Jar
INGREDIENTS
For the quinoa
▢ 1 cup (180 grams) quinoa , or 2 cups (370 grams) already cooked quinoa
▢ 1¾ cup (420 ml) water
▢ pinch salt
Dressing
▢ 5 tablespoons natural peanut butter
▢ 4 tablespoons lemon juice
▢ 2 tablespoons soy sauce
▢ 4 tablespoons water
▢ 2 tablespoons rice wine vinegar, or apple cider, or white wine vinegar
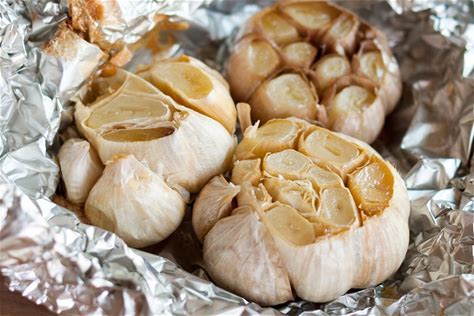
▢ 1 -2 tablespoons minced garlic
▢ salt and freshly ground black pepper to taste
▢ Optional : 1 tsp maple syrup with peanut butter unless already sweetened
Salad
▢ 4 green, spring onions, cut into thin rounds,
▢ 1 medium julienne carrot
▢ 1 cup (150 grams) frozen edamame beans
▢ 1½ cups (160 grams) chopped red cabbage
▢ 1½ cups (160 grams) chopped green cabbage
▢ ½ cup (73 grams) roasted peanuts
INSTRUCTIONS
Cook the quinoa. Add the quinoa, water and a pinch of salt to a saucepan. Bring to a rolling boil, then turn the heat down to the lowest setting, cover tightly with a lid and cook for 15 minutes. Turn off the heat and let stand with the lid on for 10 minutes. Fluff with a fork before using.
▢ Make the dressing. Add all of the dressing ingredients to a small bowl and whisk them together really well. Divide the dressing evenly between 4 x 17oz (500ml) mason jars.
▢ Layering–>Dressing starts at the bottom. Add green onions, then quinoa, carrots, edamame, cabbage and end with the peanuts and a tight lid. Store in the fridge for up to 5 days.
▢ To serve shake the jar vigorously. Plate it or eat directly from the jar.
NUTRITION
Serving: 1 jar Calories: 438kcal Carbohydrates: 44g Protein: 20g
Fat: 23g Saturated Fat: 4g Polyunsaturated Fat: 7g Monounsaturated Fat: 10g
Trans Fat: 1g Sodium: 626mg Potassium: 869mg Fiber: 10g Sugar: 11g Vitamin A: 3158IU Vitamin C: 49mg Calcium: 124mg Iron: 4mg
Fridge time 3-5 days.

You Gotta Eat Here!

You Gotta Eat Where?
Home Cooking Goes To Work!
What’s better than home cooking?
No-o-o-thing!
Jar up these salads and bring your appetite!

Substitute cashews, almonds or walnuts for peanuts. Roasting the nuts is even better. Peanut substitute: Switch the peanut butter for sunflower seed butter (tahini) and top with crunchy sunflower and/or pumpkin seeds instead of peanuts. You can use any combination of seeds. You can roast nuts in paprika, garlic powder, black pepper and salt for a big punch. Next time use hazelnut butter. If you don’t have soy sauce use coconut aminos or tamarind.
Be a MacGyver and substitute as needed!
Bring home made meals to work.
It is 100% worth it!
Use plastic containers instead of mason jars. (a) TO WORK or (b) at HOME.


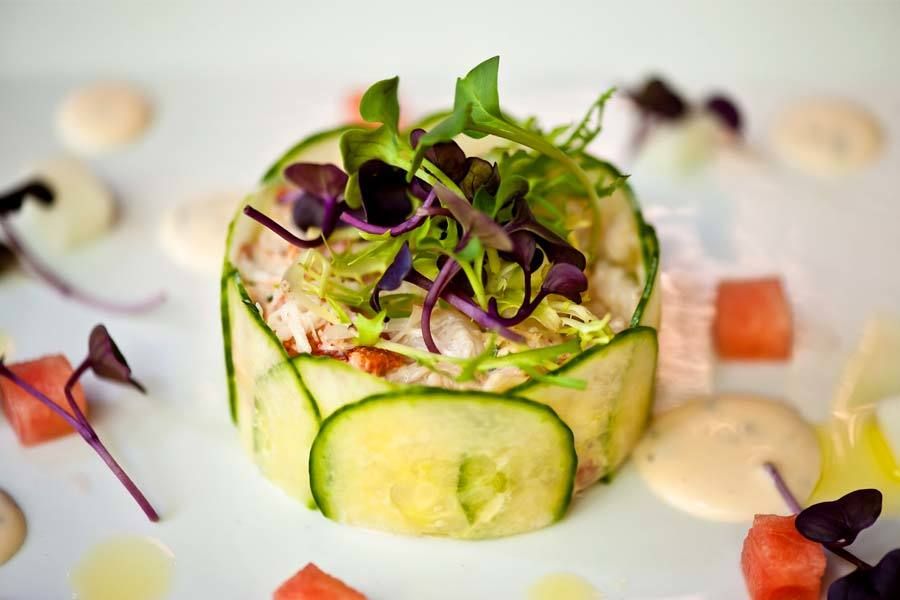
Salad-In-A-Jar `Yumm`Yumm
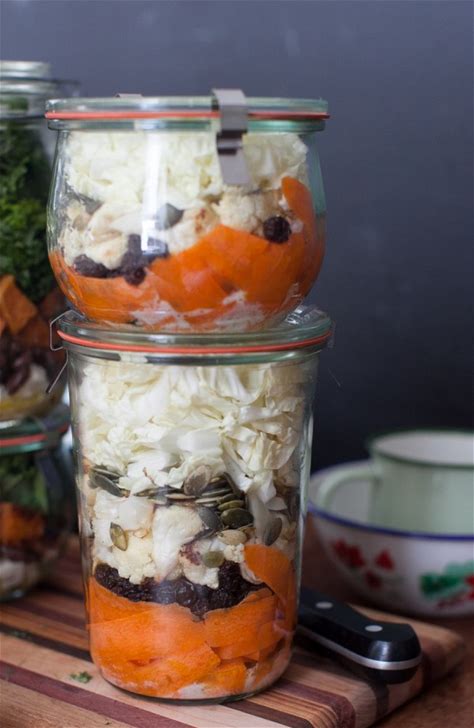

INGREDIENTS: lemon juice+ olive oil, shaved carrots, currents, pumpkin seeds, cauliflower + nappa cabbage [left]<~ ~>[right] creamy dressing + roasted tofu, black beans, tomato +shredded parm. cheese, topped with spinach
Salad Layering ~Salad Jar ~Video
Beginner’s Guide

More “Salad Jar” Ideas~ Make Ahead on Sunday ~ Good Eats for the Rest of The Week!
The Very Best DYN-O-MITE Salads!
New Dressing Ideas!

A peanut is not a nut but a legume like soybeans and lentils. Athletes enjoy the protein and healthy fats for good digestion, magnesium, manganese, biotin, CoQ10 and minerals such as zinc, niacin (B3) phosphorus, selenium and Vitamin E.
The Green Life…..If you are doing a 5 day vegan cleanse, reset or detox, then this is the healthy salad for you!
I used green and red cabbage in this salad because it stands up well in a jar and great for digestion. The quinoa, a seed, adds nutty nutrition to the salad!

Recycle! Reuse!

RECYCLE ♻️ these plastic containers instead of using mason jars. I save plastic containers from my market purchases. They are easy to use as many times as you like or toss out at any time. You can also substitute them for glass jars.